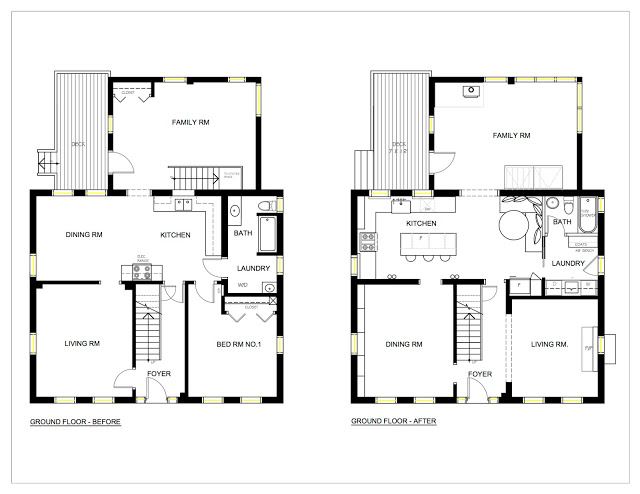

Before & After floor Plans of a Whole Home Renovation
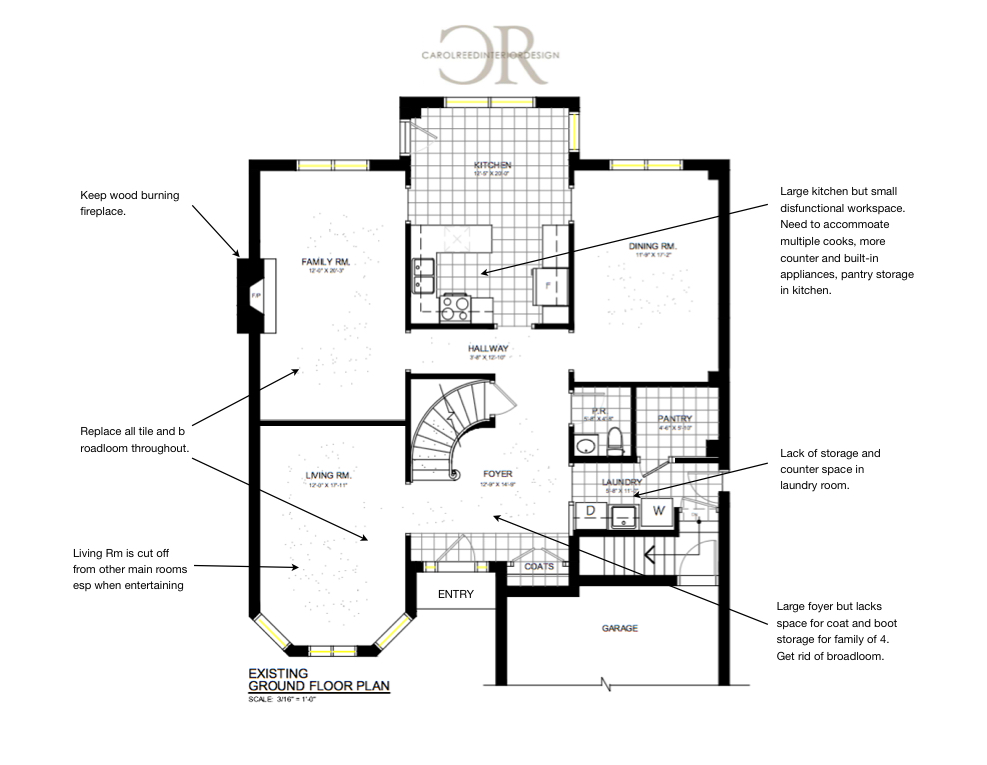
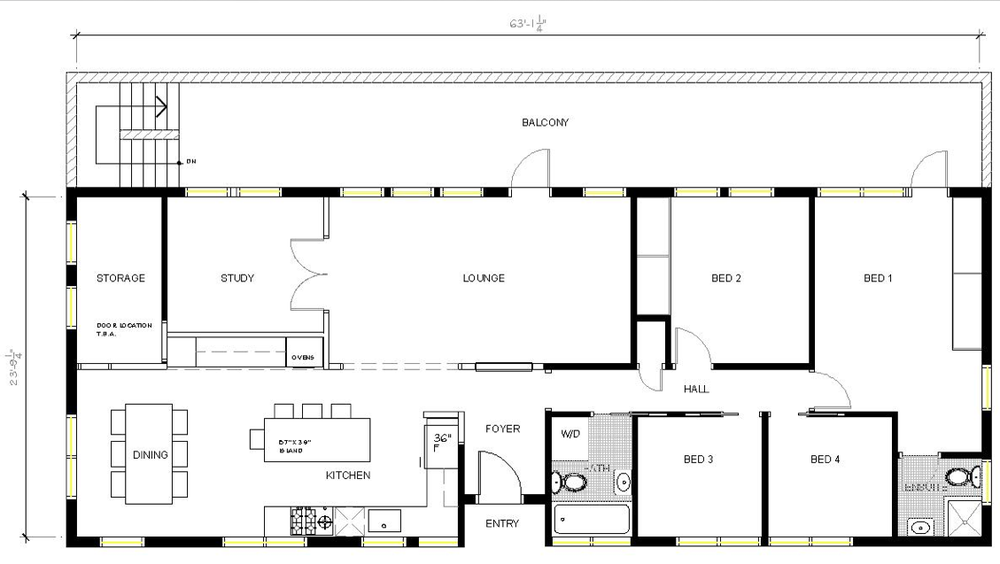
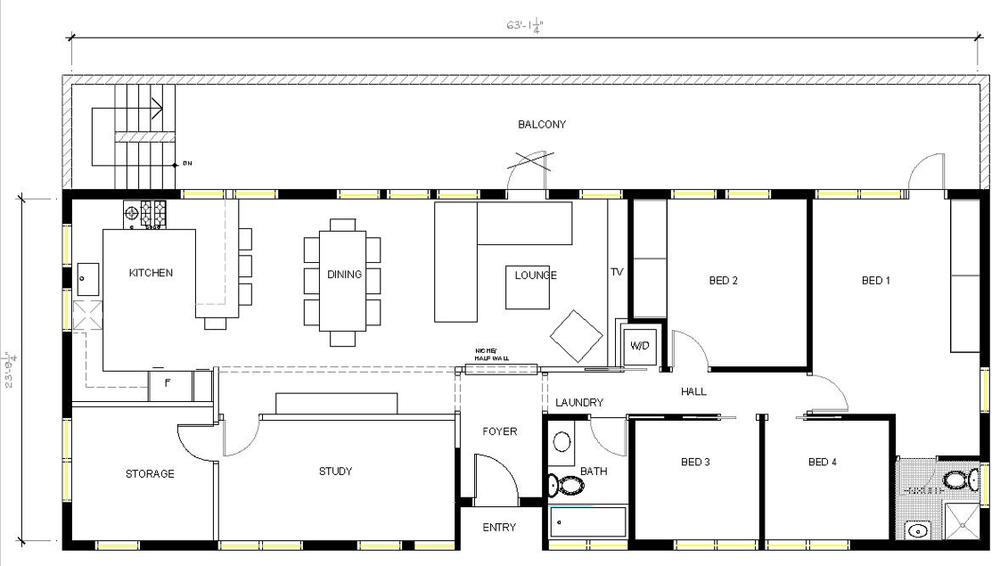
Floor Plan - Before | Carol Reed Interior Design Inc.
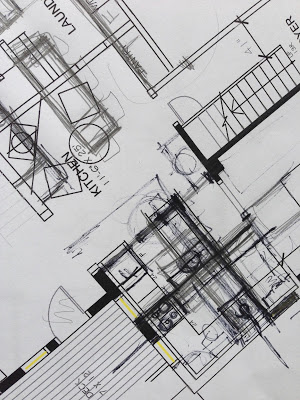
The before & after plans of this past project are a great example of how effective it can be to assess and make thoughtful changes to a floor plan. This important step is the catalyst to achieving a successful home design or renovation - its also my favourite part of the design process because its when the potential is revealed and solutions are realized. The objective for this plan was to update an 80's suburban home for a busy young family of 4 who love to cozy up for movie nights and also host large family gatherings. The most pressing issue was the need for a more functional kitchen and so the renovation planning started and extended from there. (See plan above and the key issues to be addressed.)
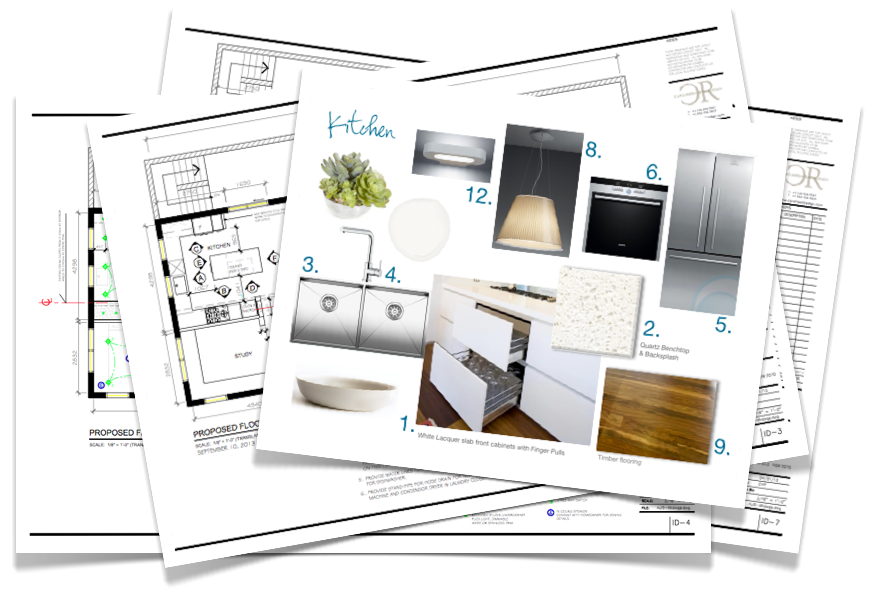
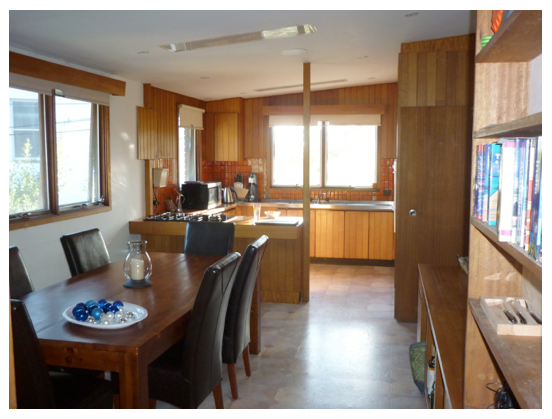
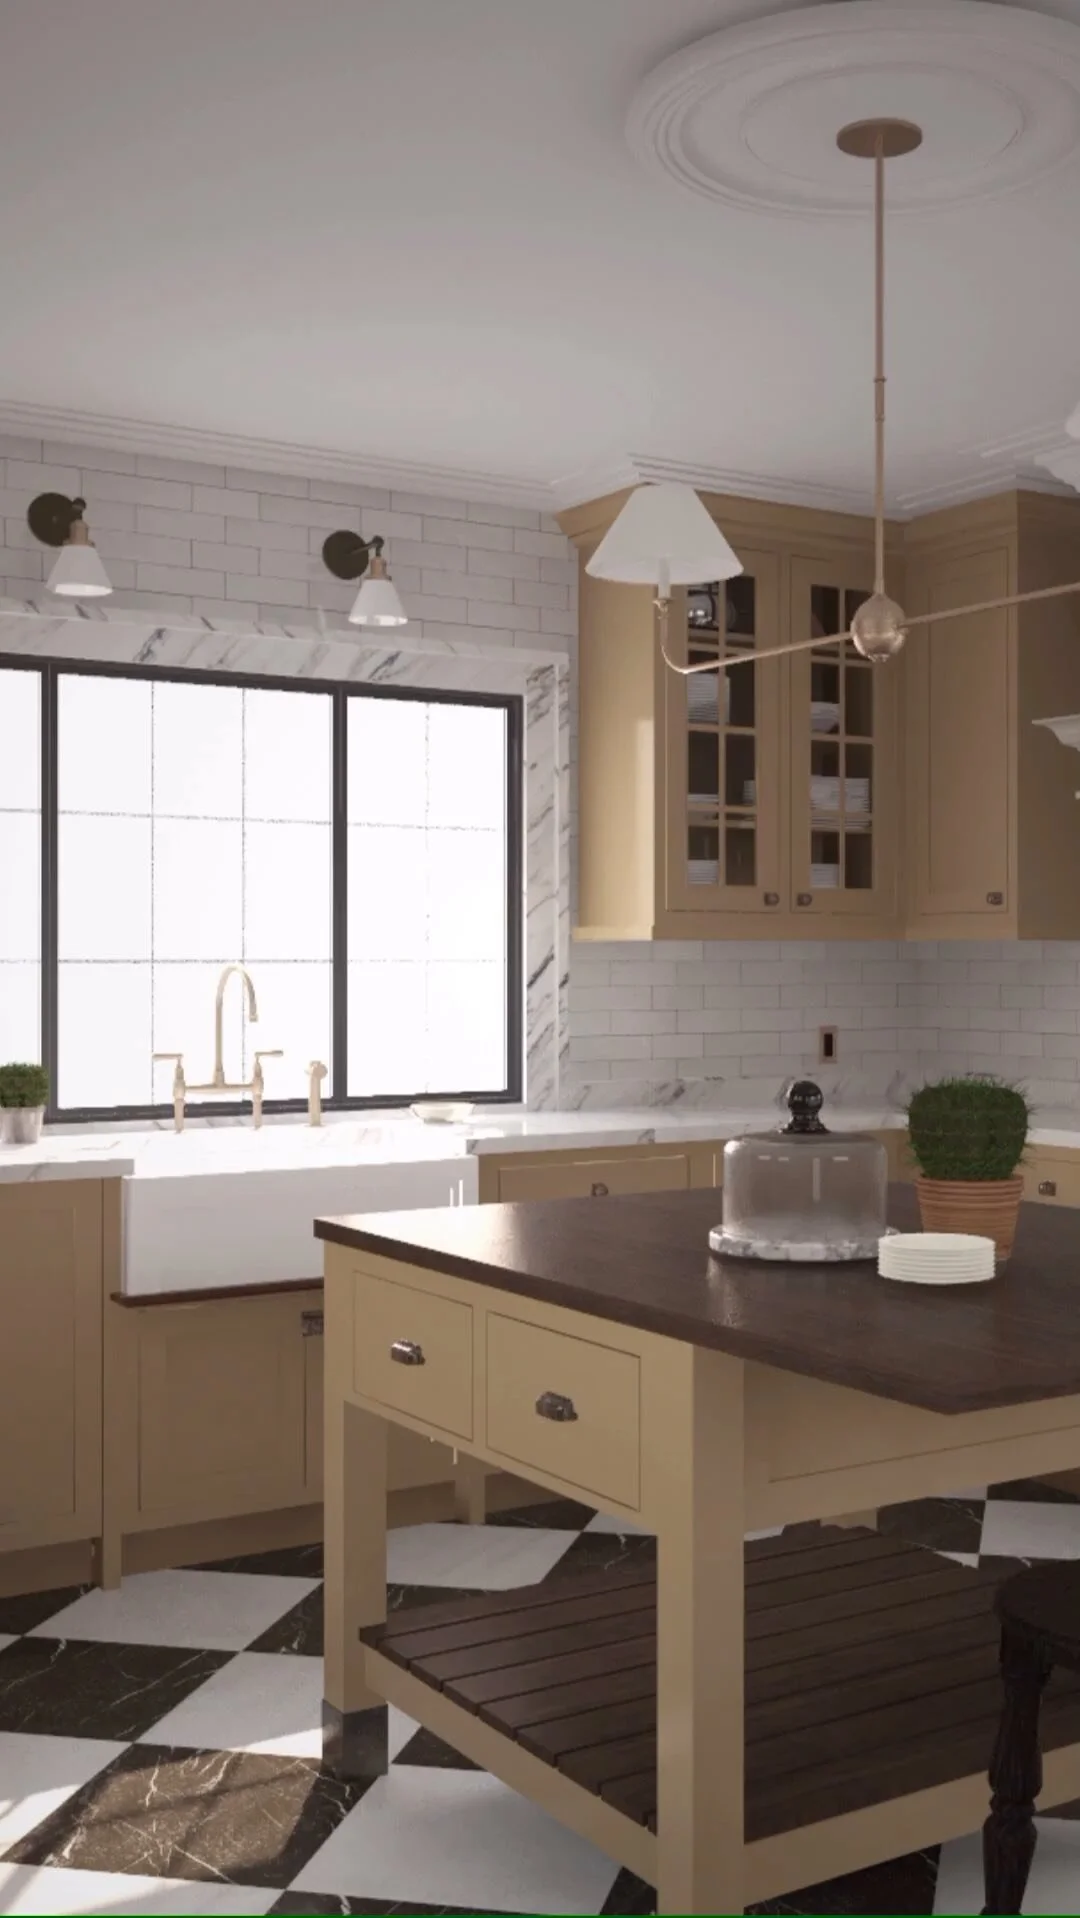
The house had none of the builder upgrades (like hardwood or crown mouldings or granite counters) and so not only was it in need of aesthetic updates the layout didn't function well for their lifestyle. The hard working spaces like the kitchen, entry and laundry areas were inefficient. This put them in a dilemma many home owners face….endure a top to bottom renovation… or.... begin a search for another house that better suited their needs. Both can be equally daunting choices for a busy young family, ultimately they chose to undergo a full renovation but in the hands of a professional team and with the intent that the project wouldn't become an extensive gut-reno. I came on board to re-design the floor plan plus all the new details and finishes that would transform the home - featuring a luxurious new kitchen (which by design, would not be the typical open concept configuration).

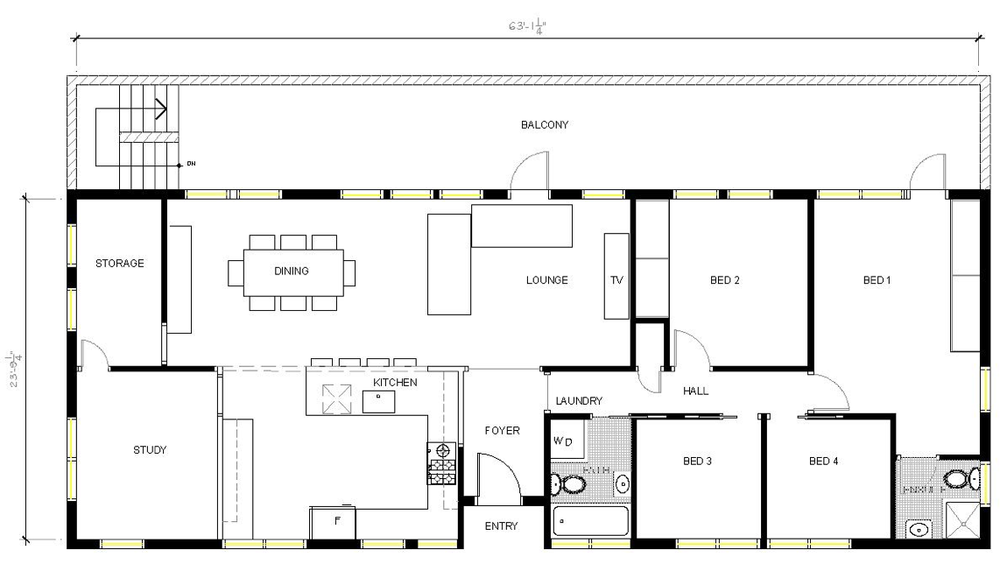
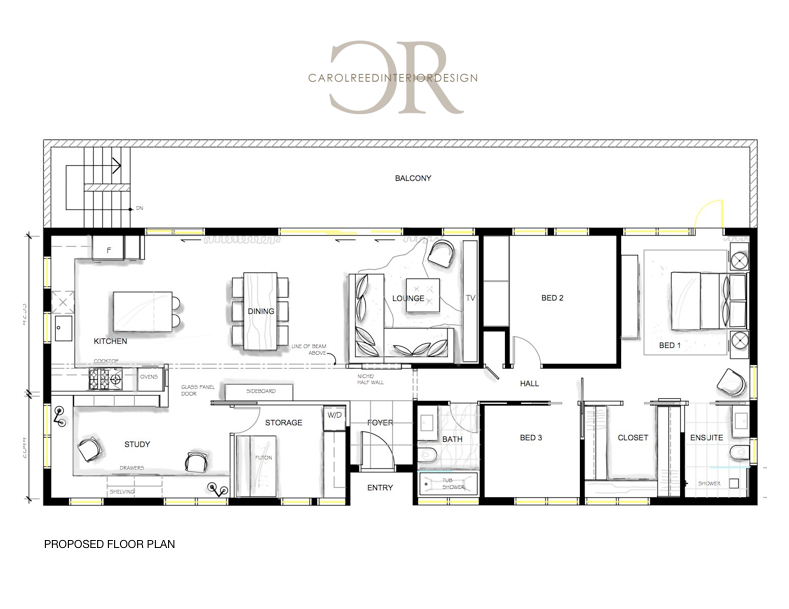
Floor Plan - After | Carol Reed Interior Design Inc.
The “after” version of the floor plan shown above and below with notations of some of the key changes. Although the changes to the layout were not drastic from a construction stand-point, the combination of those layout improvements with the added functionality and all new materials, finishes and details resulted in a dramatic transformation.

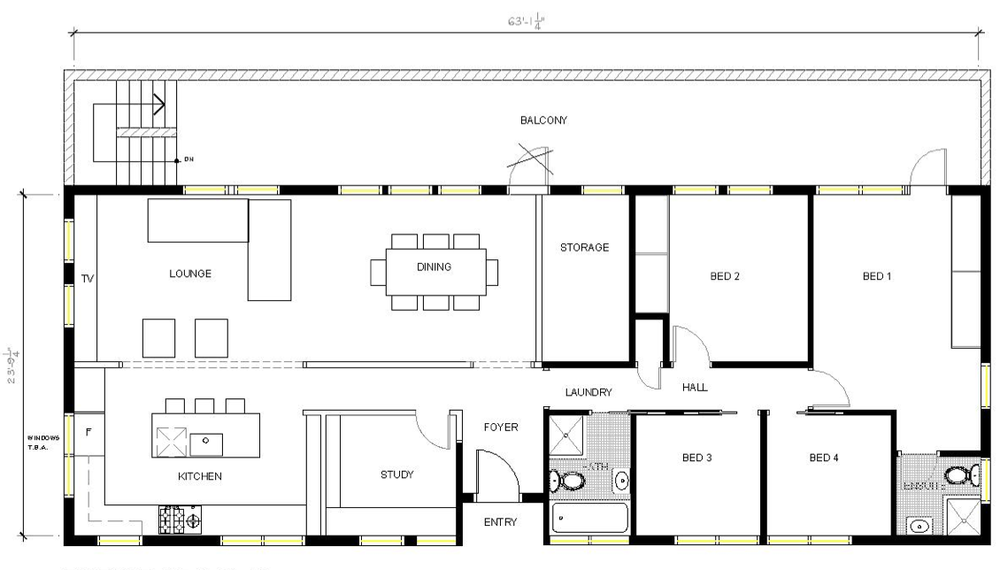
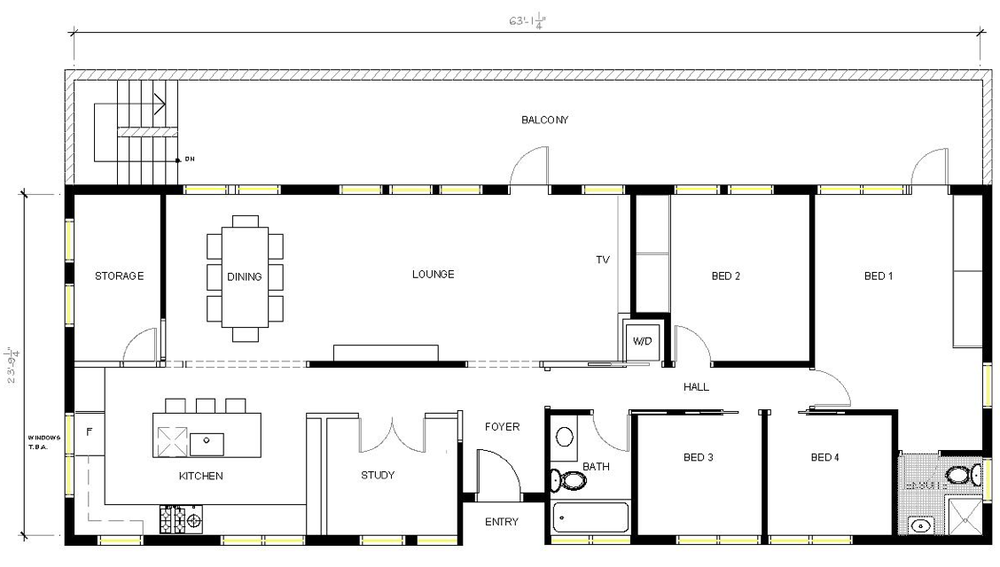
Floor Plan - After (showing proposed furniture placement)
Design by: Carol Reed Interior Design Inc.