|
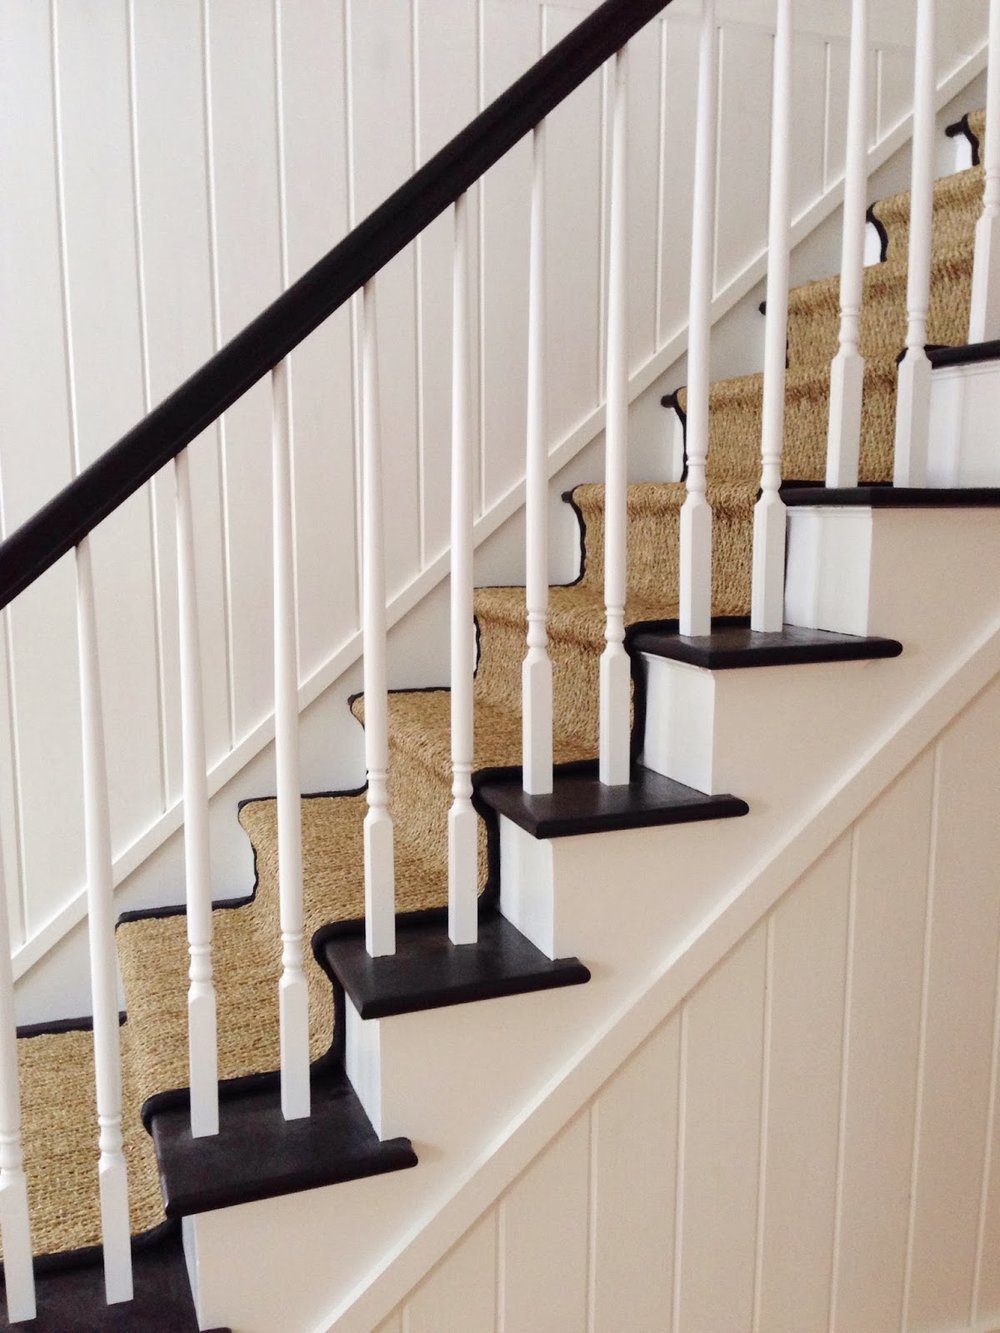
| My almost complete, newly renovated staircase. |
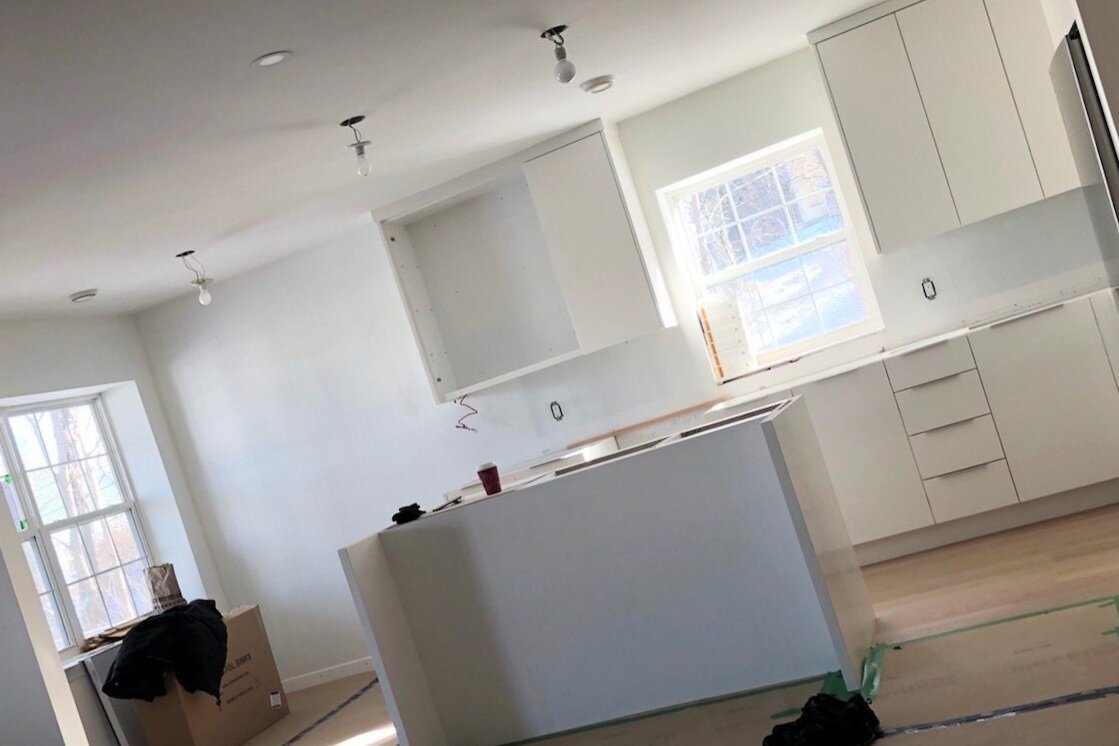
Upon completion of the first phase of our
house reno, we wasted no time in moving our things into the new part of the house but we weren't in any rush to plunge into phase 2 of the renovation just yet. Living in the house throughout the renovations took quite a toll on us and the cats, particularly our older cat who became quite sick during this time. So we've spent the past 6 months enjoying a break from the construction as we slowly chipped away at completing some of the finishing work that was left to be done, like some trimwork, painting, and installing door hardware etc., We recently finished painting the staircase treads and railing and added a new runner. There's a teeny bit more painting and touch-up to do on the staircase yet but I'm so thrilled to
finally have the staircase at least 'looking' like its finished - its been a long transformation. Here's a look at the staircase we started with.
 |
| Staircase before. |
The existing staircase was not original to the house and I'd guess probably a 1980's addition. It had no redeeming features or character, the railing was not to code as the spindles were spaced much too far apart and I felt the staircase itself was overly wide for the size of the house. On the second level there is a hallway on one side of the staircase which you can see in the above photo. We didn't demolish the staircase entirely, aside from the railing system, I worked with what was there as much as possible. I did however rework the entire second floor layout which resulted in the upper hallway and railing being flipped to the opposite side of the staircase.
 |
| Front hallway and staircase in progress |
The one good thing about the extra wide staircase is that it makes for a large closet underneath the stairs, you can see a bit of the old closet door in in the photo above (under the stairs). A glimpse of the new living room framing can be seen on the right.
 |
| Staircase in progress |
In the above photo you can see the new wall is now installed on the second floor on the left side of the stairs. The new staircase railing will go up the right side of the stairs continuous from the bottom tread to the top landing and then continue (with a 180 deg turn) back along the right hand side of the staircase opening above. I wanted to do this without having a jog in the staircase section of the handrail which posed a bit of a challenge. (If you look back to the photo of the old railing you can see the spindles and handrail actually terminate at the ceiling - or alternately the railing could have continued if it took a jog around the ceiling at this point.)
 |
| Railing install in progress |
The knotty pine stringers and risers were painted out white. New shop painted solid wood spindles were installed along with solid wood newel posts and handrail. I loved the simple elegance of the tapered spindles. I was fortunate to find Eric, of
Rise and Run Wood Crafting, he's a skilled and knowledgable staircase installer who with the help of an assistant completed the installation in a day and half.
 |
| Staircase after, view from the top. |
In this view you can see the newly configured second floor hallway located opposite to where it was previously. The upper hallway is now directly above the lower hallway. What you can't see in this photo is that on the second floor directly above the front door, there is a tall peaked dormer with an original gothic arched window which now falls in the centre of the second floor hallway. It has brought back symmetry to the floor plan and highlights the beautiful gothic window and drama of the peaked dormer. I swear I could hear the house breathe a sigh of relief "aaagghhhh, that's better". : ) Ok, i'm sure it was myself I heard saying that out loud but it really feels like the way the hallway was always meant to be.
You can also see in this photo above how the spindles are positioned quite a bit inside the edge of the treads but this allowed for the handrail to remain straight (no jog) and the spacing on either side of the runner to remain equal from top to bottom. A detail I debated with myself at length. Another challenge was working with the antique wood flooring on the second floor which is 1-1/4" thick. Typically your wood flooring would transition flush with a wood nosing selected to match your flooring. Since we were dealing with antique wood and a non-standard thickness, I opted to go with a paint grade nosing instead, installed on top of the flooring, not flush with it. This meant I saved on the expense of having a custom nosing made and it would be a less labour intensive install. Because its painted white it looks integrated with the railing system and other millwork around the stairs, so it works well.
 |
| Staircase runner install in progress |
We added v-groove planks to both side walls of the staircase and coated them in white paint like the risers and spindles. The same v-groove planks are also used upstairs in the bathroom, master bedroom and closets. My love for v-groove panelling will never waver....
 |
| Staircase runner install in progress |
I chose a durable ready made seagrass runner in a chevron pattern with a black binding, by Safavieh. I like how the black border adds a crisp contrast against the white risers. I love how the angle of the chevron echoes the gothic peak dormer on the front of the house and the seagrass suits this casual beachside location. I ordered 2 separate runners which we butt joined together (bound ends cut), it was installed with a pneumatic gun. This is a thick carpet and very rough to the touch. I chose this specifically for its durability and practicality for our cats. One of the reasons I was so anxious to get the runner installed is because bare treads are slippery and dangerous for pets and our older cat in particular was having such a hard time, slipping and falling.
 |
| Staircase After |
The treads and handrail were painted a satin finish black. You can clearly see here how the new spindles are inset quite a bit from the edge of the treads, this is a bit further than where I would typically place them, but I'm not bothered by it at all and I'm happy that I did this rather than jog the railing part way up the stairs.
 |
| Staircase after. |
This is the view from just inside the living room. We still have some touch up painting to do on the newel posts and clearly we still need some vent covers for the floor. (!) We're working on some custom wood ones, in the meantime we have to figure out how to retrieve all the cat toys that have fallen down the vent.
|
| Staircase closet door, after. |
The old closet door was clad in the same v-groove planks to make the door look seamless within the panelling. I opened the door slightly in this photo to illustrate the baseboard is attached to the door. Its such a good sized closet you can actually 'walk-in'.
 |
| Staircase runner, after. |
As you can see Lucy (2 years old) just loves the new runner, as does the older guy who I'm happy to see sprinting up the stairs almost as fast as her.
I had looked forward to dressing the newly finished staircase with cedar or pine garland this holiday season but a mix up in the shipment meant that we didn't get the correct runners delivered until new years eve. Sooo,,,,it wasn't meant to be this season but next year I'll be ready with bells on and if all else goes according to plan I'll have a fireplace mantle to dress up too. Knock on wood.
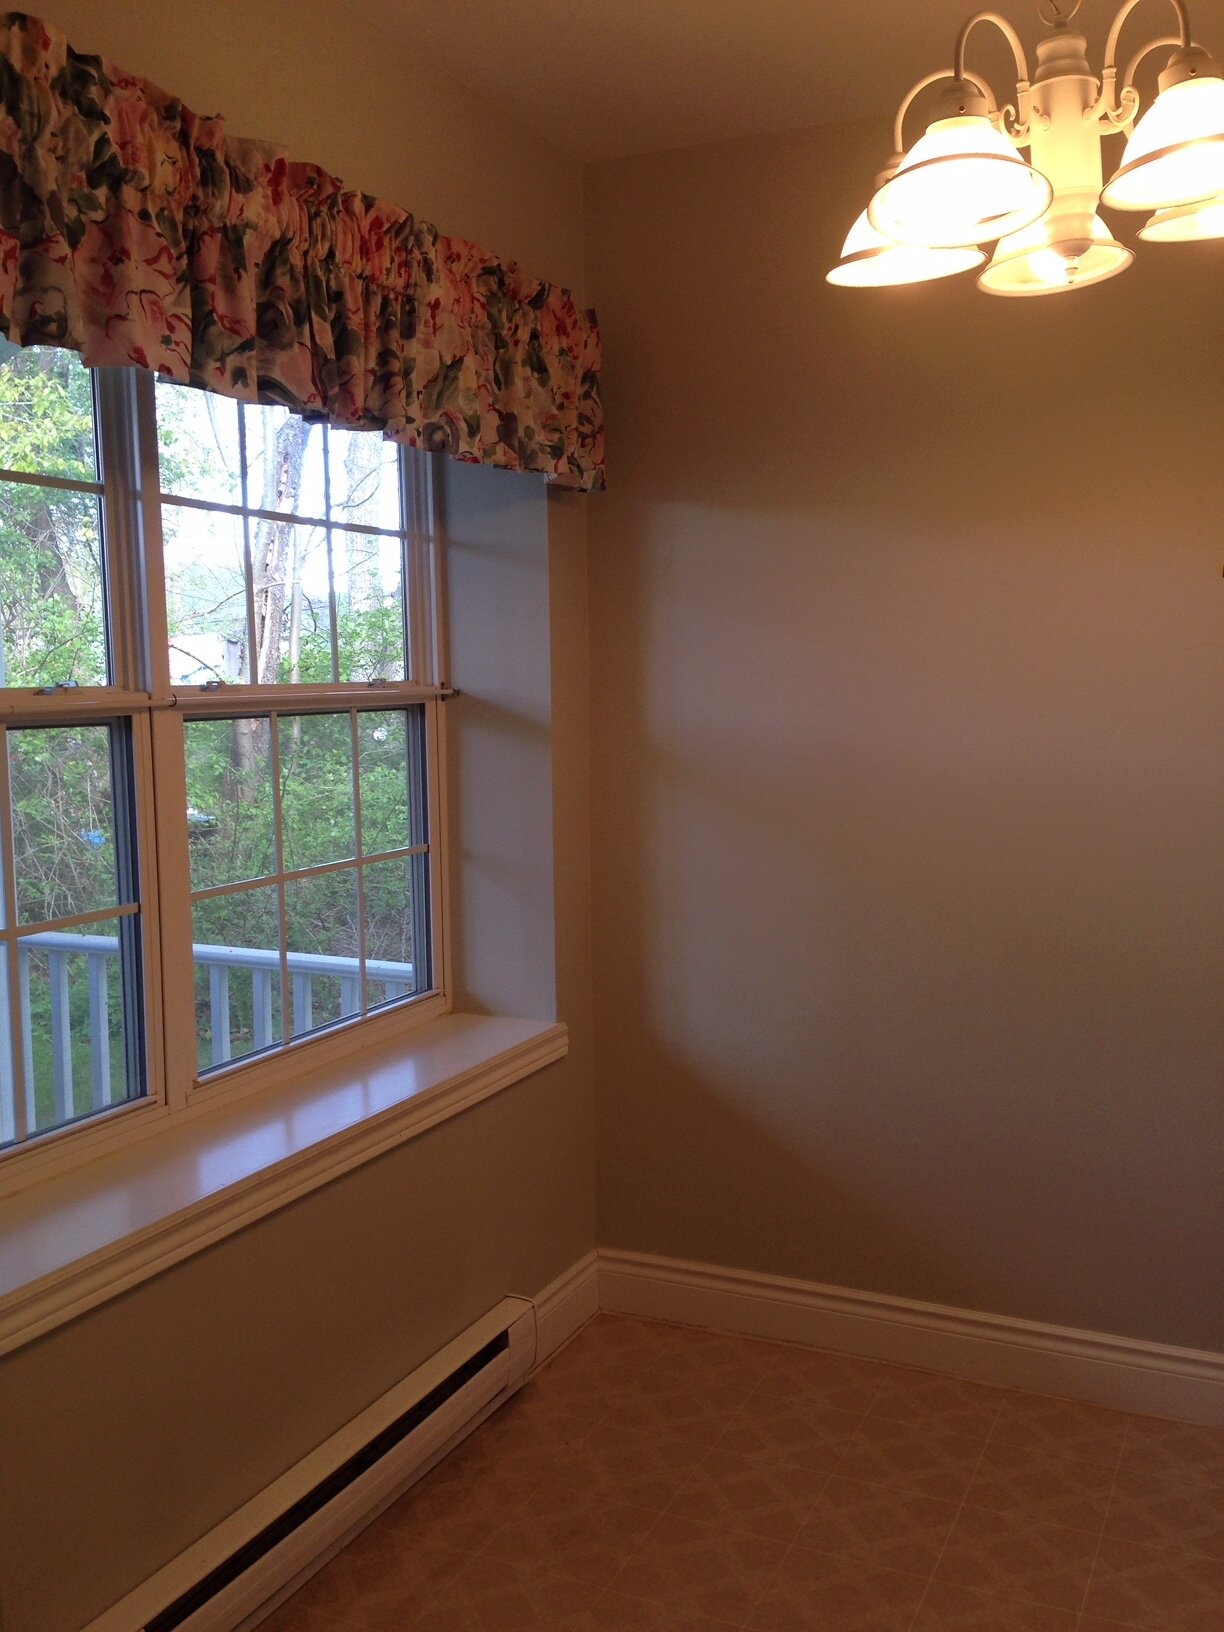
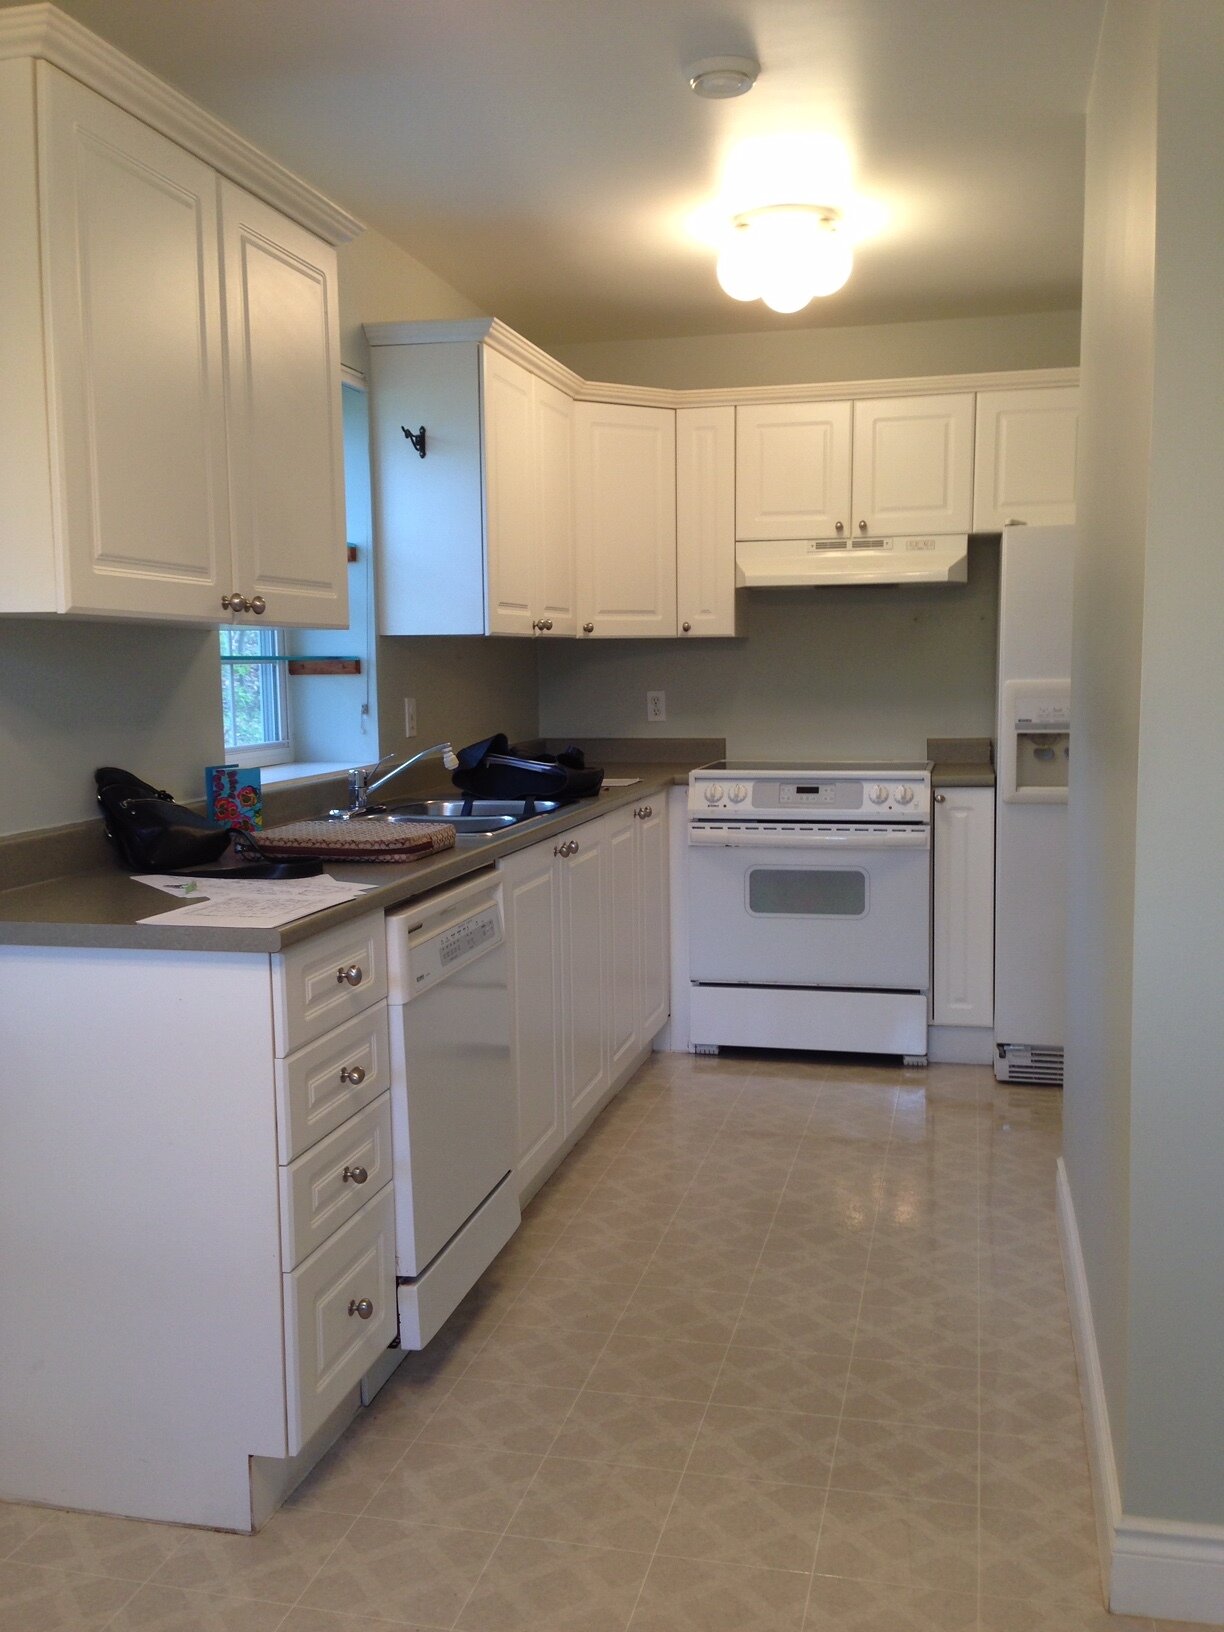
An earlier post on the demo progress can be seen
here, and check out this post for a sneak peek at the dining room progress
here.
All photos and room design by: Carol Reed