Town Home Tranformation - Kitchen In progress
THE BEFORE PLAN
The original floor plan of this single level town home didn’t have the open concept layout my empty nester clients were used to or desired, it also had some functional layout issues like the awkward spacing of the kitchen appliances and the ensuite/closet doors.
With a little bit of demo, some thoughtful tweaks to the plan, and all new finishes we set out to give this home a complete transformation that was all about editing and paring down to create a modern, minimal, white back drop to a collection of artwork, books and the owners favourite classic modern furniture pieces.

BEFORE PLAN www.carolreeddesign.com
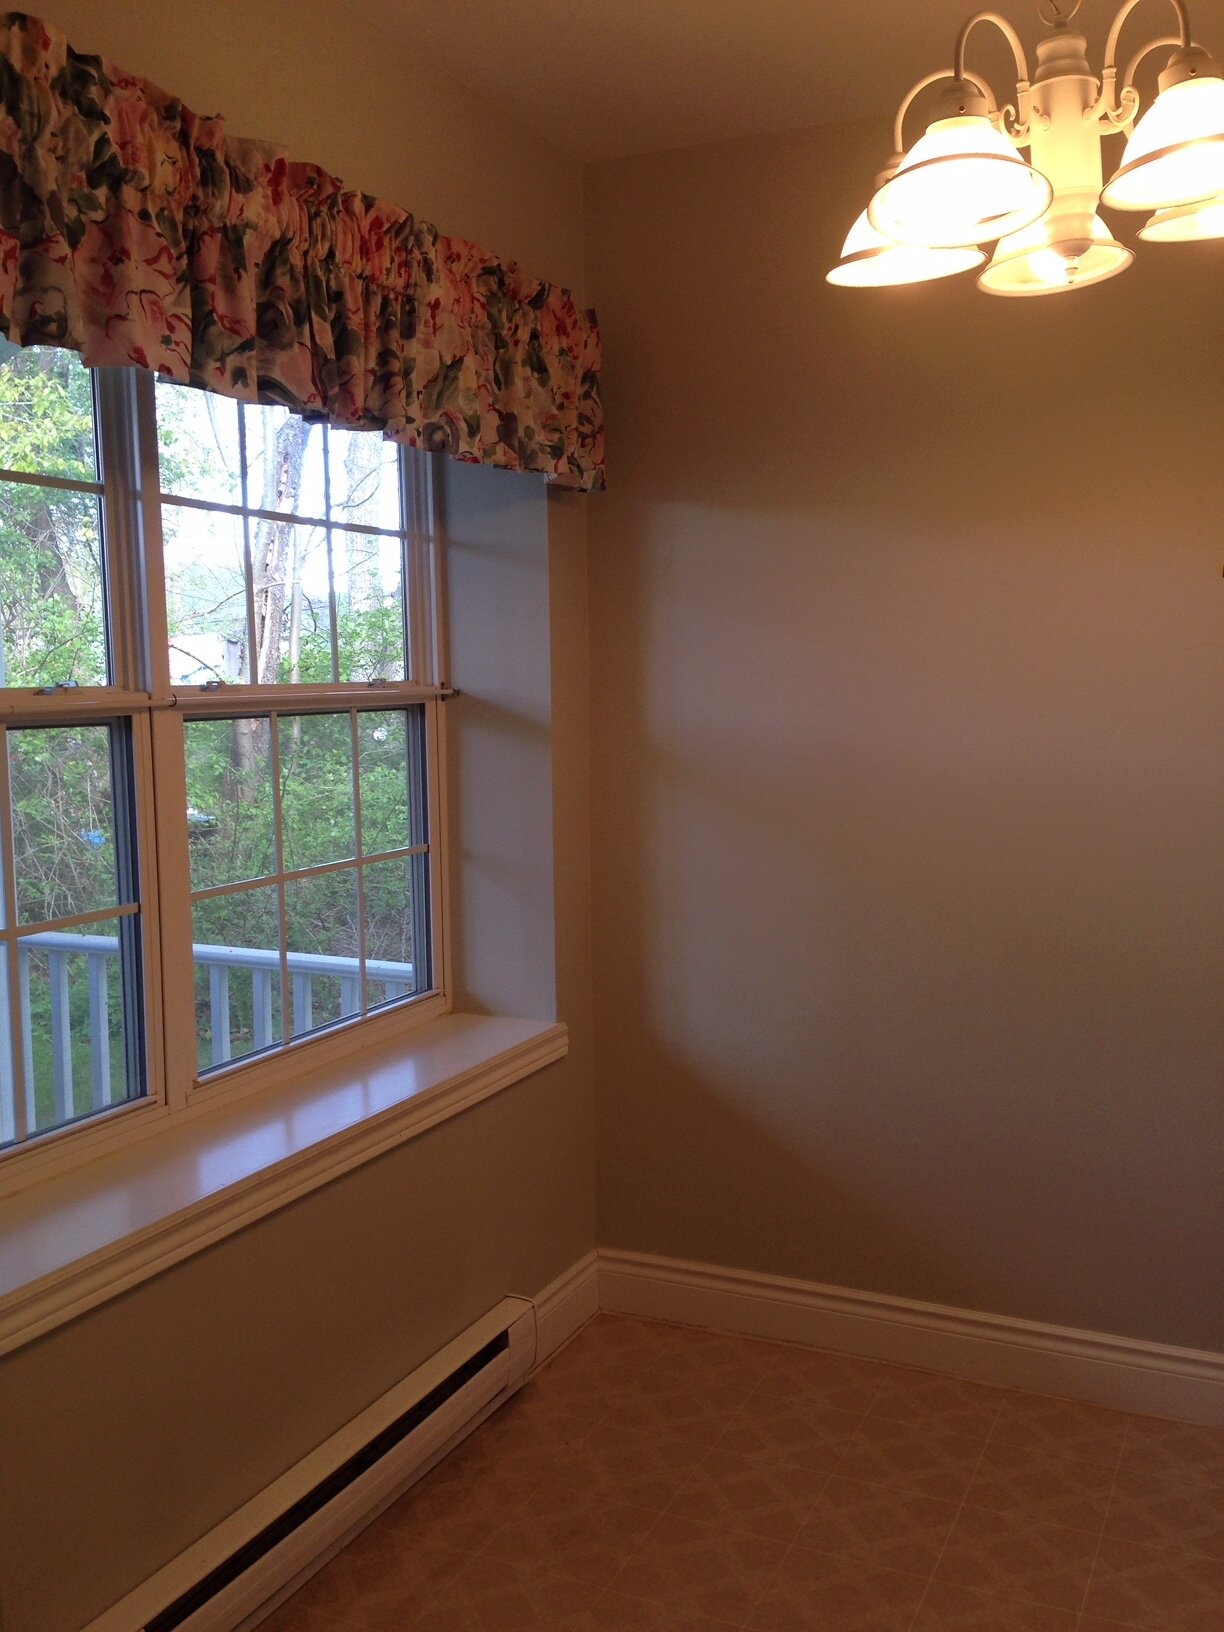
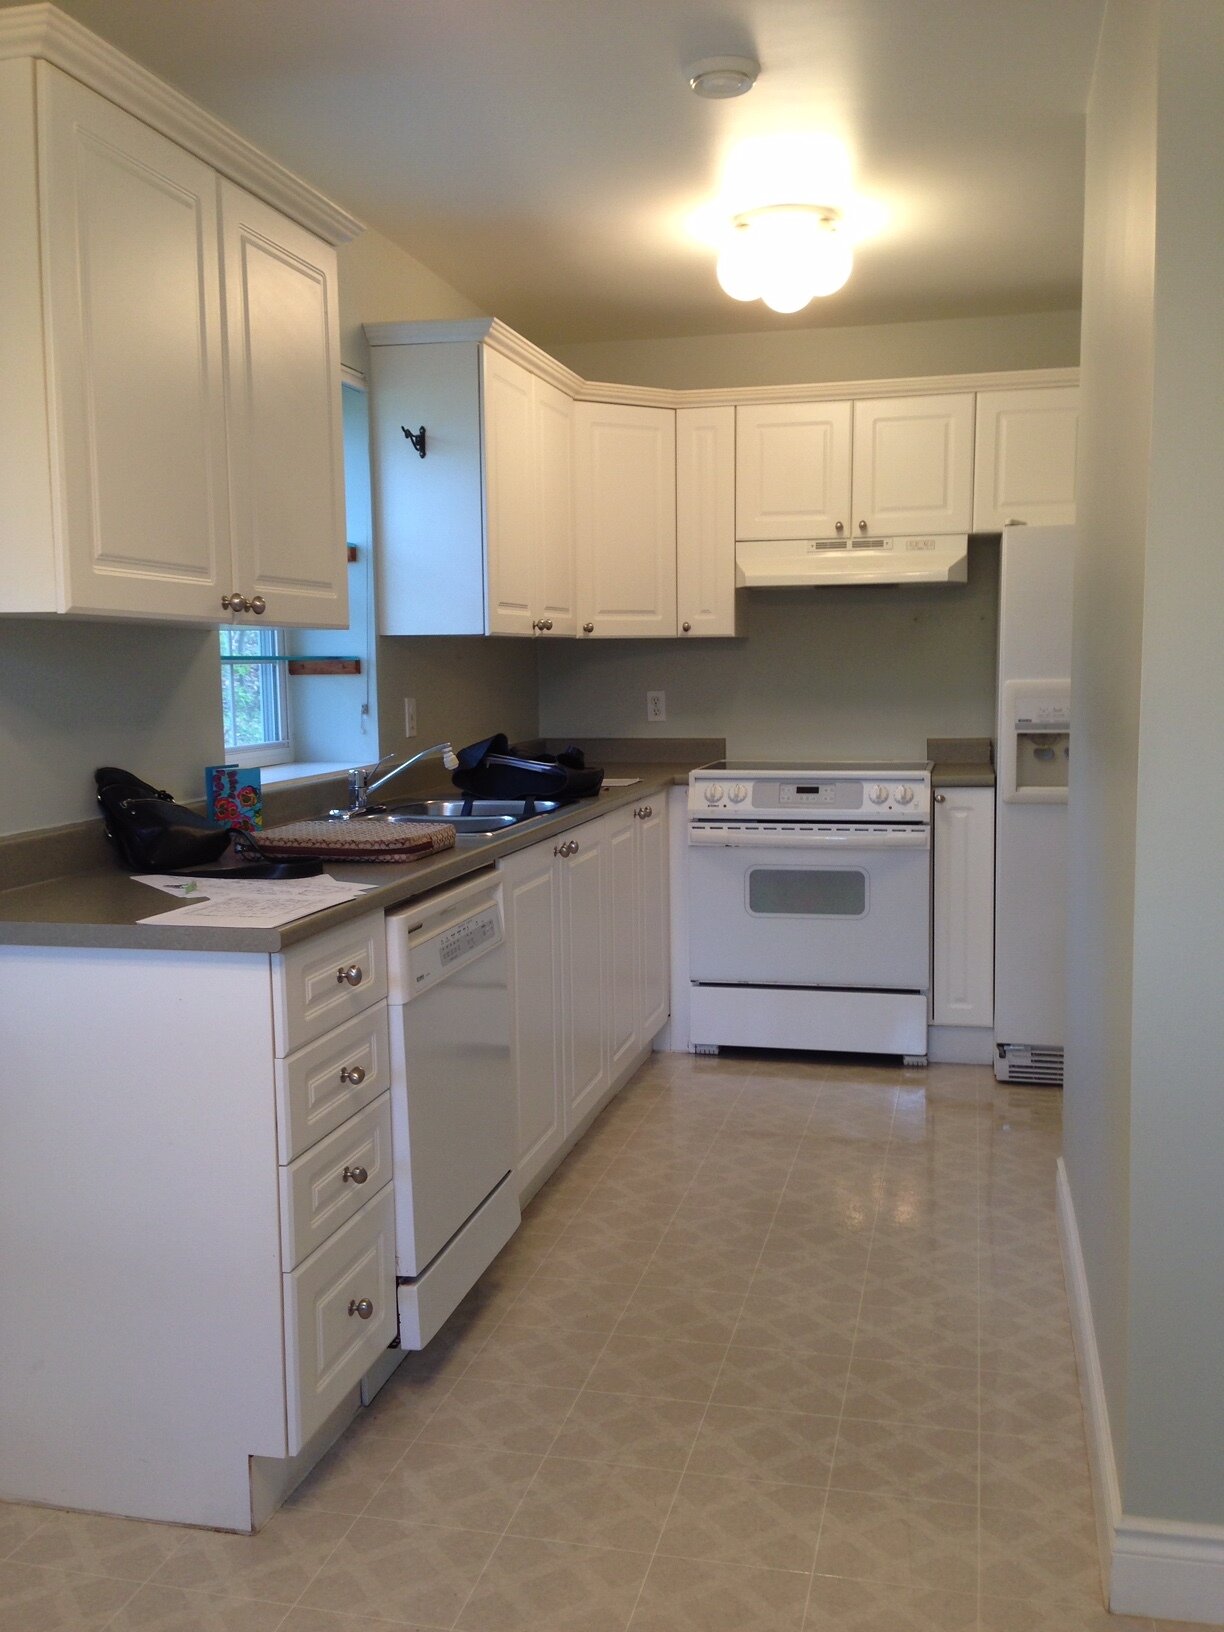
The kitchen window nook area (left) and kitchen (the back of the front hall closet is seen on the right). Cosmetic updates were planned for the entire condo; vinyl sheet flooring, wall to wall broadloom, dark wall paint, chintz window treatments, colonial light fixtures and colonial doors and trim work would all be replaced.

AFTER FLOOR PLAN - Design by: Carol Reed Interior Design Inc.
THE AFTER PLAN
New Layout: We removed the walls separating the dining and living area from each other and the hallway and removed the closet separating the kitchen from the hallway - resulting in an open concept Living, Dining and Kitchen space. A kitchen island was added and a desk floating from wall to wall in front of the large window. Counter seating at the island and an extendable table in the dining room would meet their needs for day to day and entertaining. A wall of builtin bookshelves would house their book and album collections and the long wall provides a large expanse of wall space for the homeowners art collection.
Tweeks: The bathrooms will receive cosmetic updates only, new floor tiles, floating vanities, large mirrors and more lighting. I’m not a fan of ensuites that are accessed through a closet particularly when the closet storage is not behind doors as was the case here. We removed the closet door, added flanking custom built-in his and her’s wardrobe units with a combination of drawers and hang rods, all neatly concealed behind cabinet doors. This greatly improved both the passage into the ensuite and the amount of storage.
The ensuite door which was awkwardly blocking off the toilet nook was changed to a pocket door to improve the flow. With the toilet no longer blocked off by the door swing the space is visually expanded and freed of the intrusive door swing.
In the Laundry Room new front loading laundry appliances would facilitate a countertop for folding, and wall cabinets above would add concealed storage and a hang rod. To make up for the lost front hall closet, the long wall inside the laundry room will be outfitted with hooks, an upper shelf and boot/shoe racks.

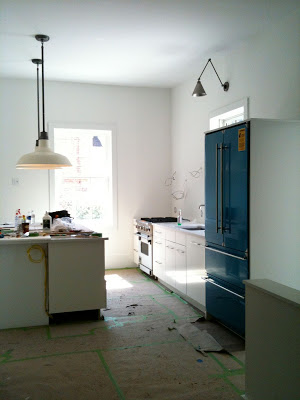
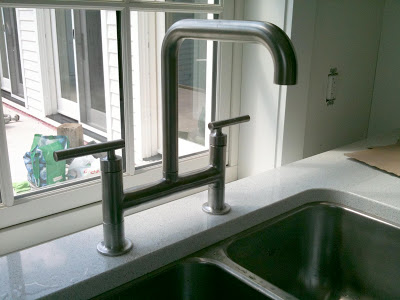
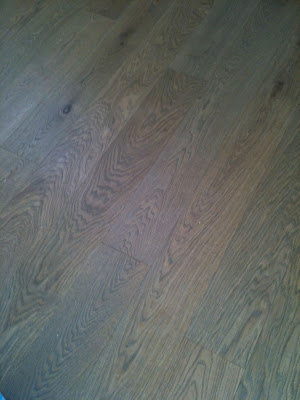
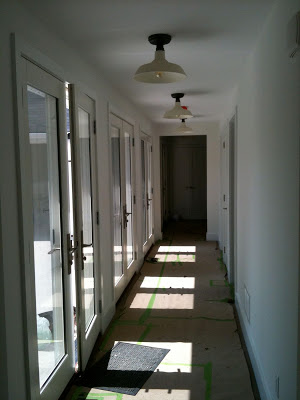
Progress at the Townhouse transformation. | www.carolreeddesign.com

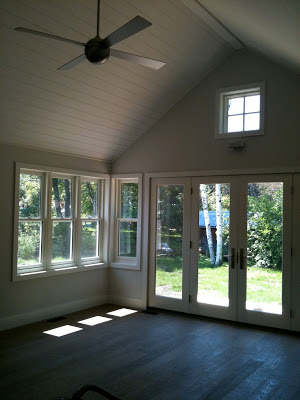
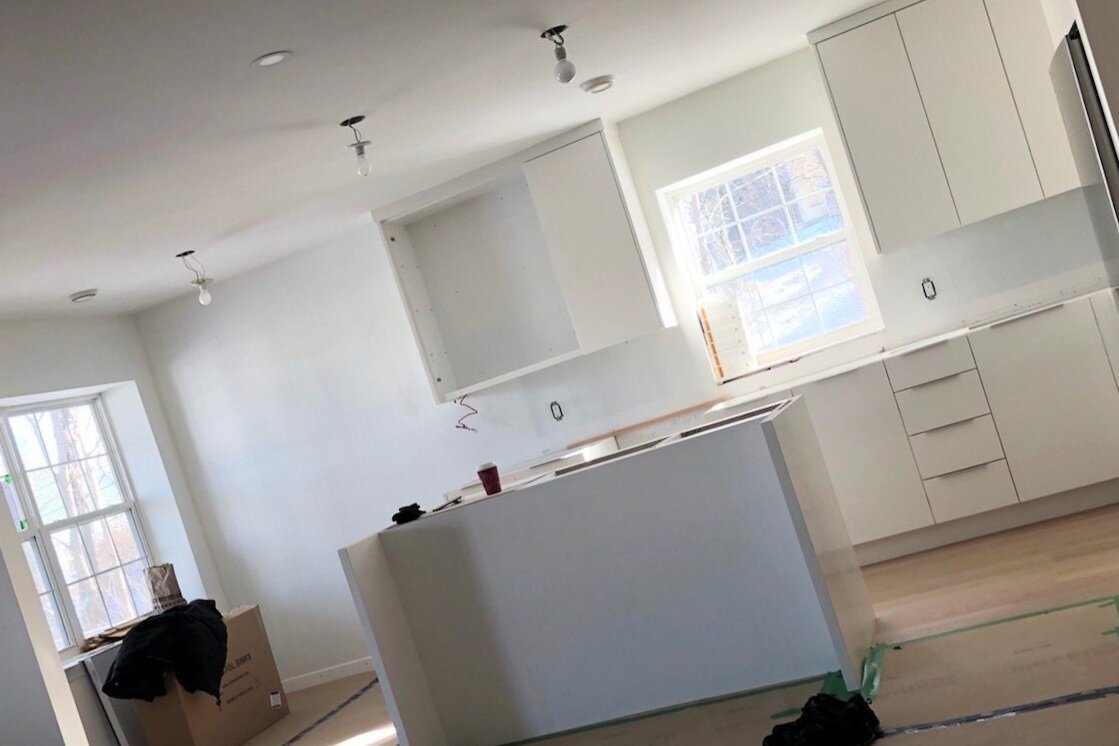
Progess - Mahone Bay Townhouse transformation. View from the Living/Dining area into the kitchen.

I’m looking forward to seeing the finishing details of the construction phase come to completion and the next phase of furnishing and styling get underway.